Aura TV Backlight Setup Guide
Share
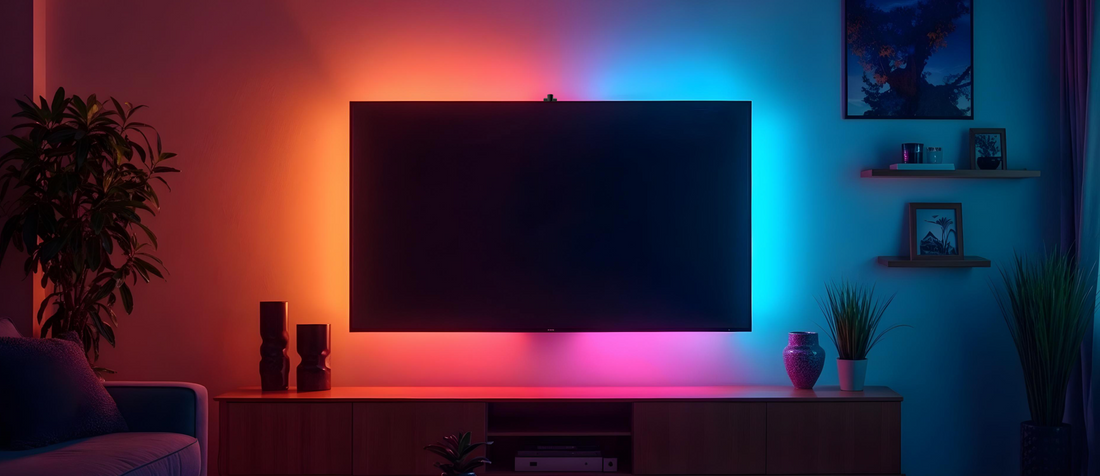
Elevate your TV experience with our easy-to-install Aura TV backlight. Not only does it add a sleek, modern vibe, but it also reduces eye strain for those long binge sessions. Our guide walks you through mounting a controller unit and the LED lightstrip, perfect for any TV model with a screen size between 55" to 65". Whether you're a DIY pro or just getting started, you'll have your setup glowing in no time. Ready to elevate your movie nights? Let's get started!
What you'll find in the box:
- A beautiful roll of the Aura TV Backlight Strip
- Controller Unit - This is the thing with the lens on it
- Power Adapter
- Quick Start Guide
- Flat Adhesive Clips (flat clips for LED light strip)
- Wire Adhesive Clips (hook clips to keep your corner cables tucked)
- Cleaning Wipes
How to install Aura Smart TV Backlight's LED light strip:
- Start by cleaning and drying the back of your screen for a strong hold. Don't skip this step. We know it sounds skippable, but the last thing you want for any adhesive backed product is to attach it to dust. Spoiler: It won't last long. Dust is your enemy here, so at least take a lightly damped cloth and wipe the back of your TV. You know we're serious about this step because we even included cleaning wipes.
-
Now, here’s the crucial part: If you are facing the back of your TV, start at the upper right hand corner and run the light strip clockwise around the back of your TV. If you are facing the screen of your TV, start at the upper left hand corner and run the light strip counter-clockwise This direction is key for syncing the colors perfectly with your screen. Peel the backing off the adhesive LED light strip and press it firmly onto the top right corner. Secure the light strip with flat clips along the way.
- As you go, you’ll notice the corners of the LED strip are flexible cables—these let you adjust and tuck any excess, fitting the strip perfectly to your screen’s size and shape. Use the designated wire clips to keep the corner cables neatly tucked away.
- Your last section of LED light strip should run across the top side of the TV and have you ending near that same upper right hand corner. Secure the last bit of the strip. This precise installation ensures your lights sync seamlessly with your screen, giving you a perfectly calibrated viewing experience with a clean, polished look.
- After completing the light installation, double-check that it's all firmly attached.
- Install the Controller Unit on the center of the top edge of your TV. There's a lip and an adjustable bracket that allows you to adjust for a perfect and snug fit. Make sure to remove the adhesive from the lens of the Sync Sensor.
- Plug in one of the Controller's wires into the LED light strip and the other one into the power adaptor. Once everything is in place, plug in the power adapter and turn on your TV.
- Open up the Aura app and add your device to the app to complete the setup.
If any issues come up after completing the last step, re-examine the connections and the mounting to troubleshoot any potential problems before seeking further assistance.
Setting up the Aura Labs App:
To begin your journey, open the app on your mobile device, whether you're using Android or iOS. The registration process is straightforward; follow the prompts to create your account. It's like 3 steps and involves your email. Use a real email because you'll need a verification code.
Once registered, you'll have access to your Aura dashboard. Ensure that you enable Location services and Bluetooth on your device, as these features are essential for the app to detect and connect to your Aura product during setup.
- Make sure you're on the Home screen
- Click the plus sign in the upper right hand corner
- Select "Add device"
- Follow the prompts and turn on the Location and Bluetooth settings
- Select "Aura Smart TV Backlight"
-
The Crucial Calibration Step: So crucial that we title cased and bolded it. Calibration ensures that the display settings are optimized for your viewing experience. Here the Aura app will show you 8 numbered dots that you'll probably have to adjust placements on based on the view of your Controller Unit. You can make some adjustments to the unit if it doesn't see enough of your tv screen or if it's off center. Pay attention to where each dot is on your app screen and adjust as you go through each step. This is the hardest part.
Now you can pick the mode you wish to enjoy first—whether you prefer a calming ambient light or a vibrant visual experience, the modes are designed to enhance your interaction with the device. Enjoy exploring the features and functionality tailored to your preferences!
